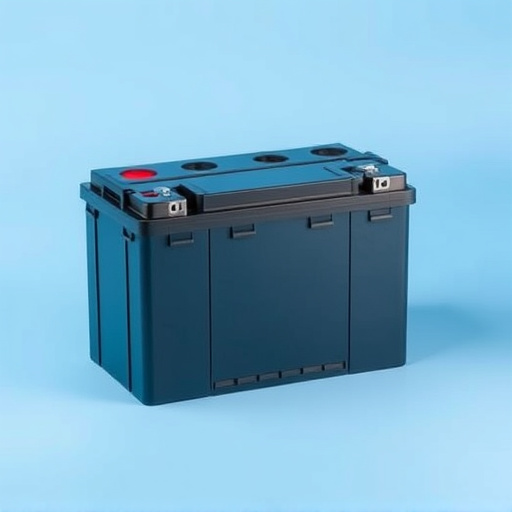
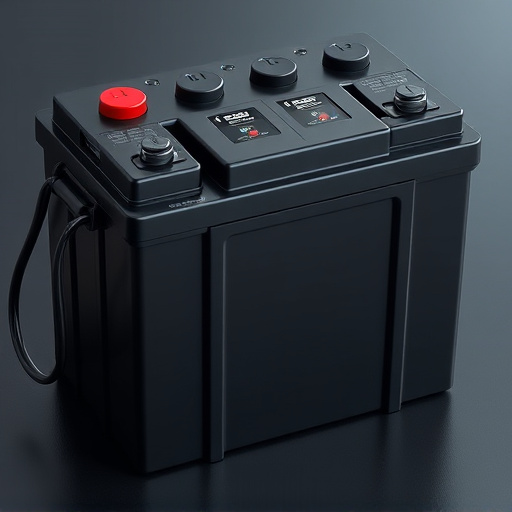
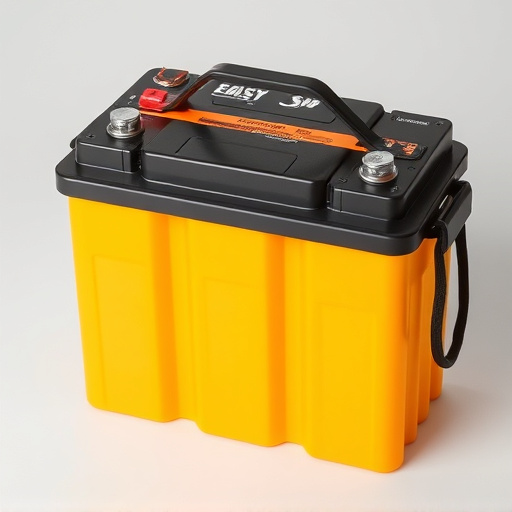
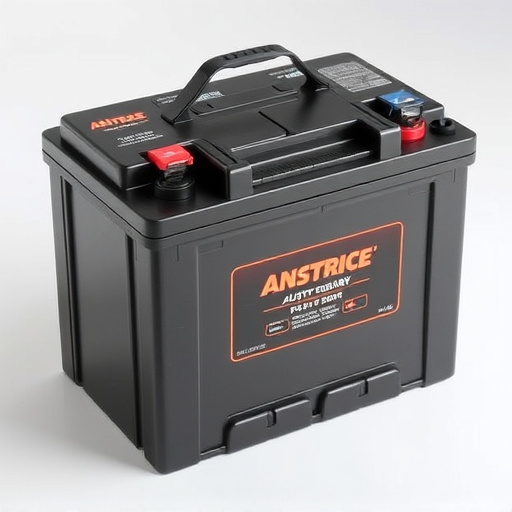
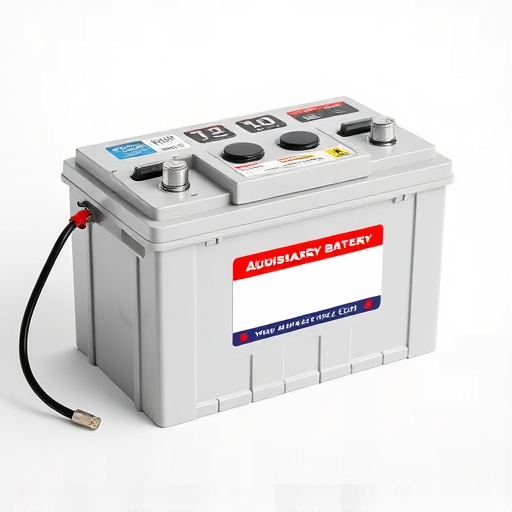
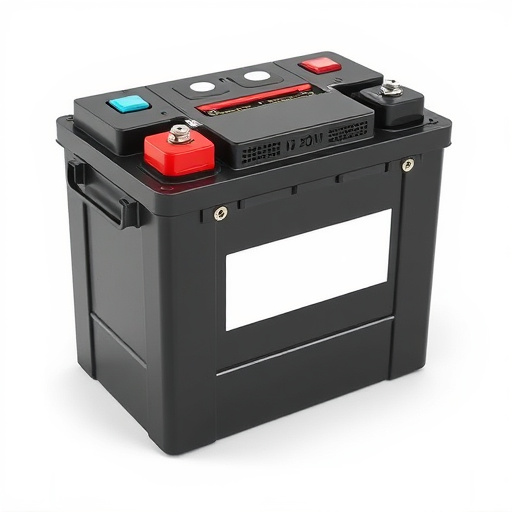
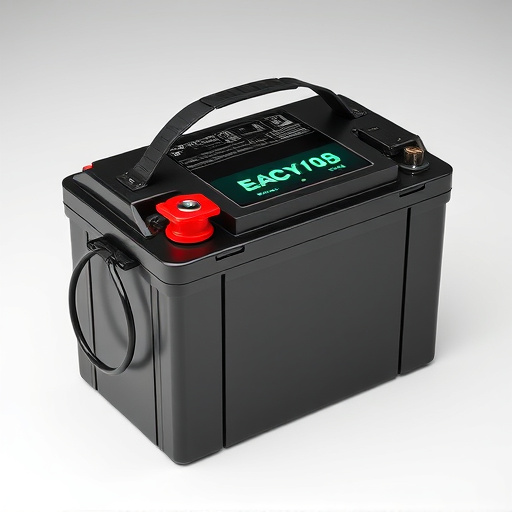
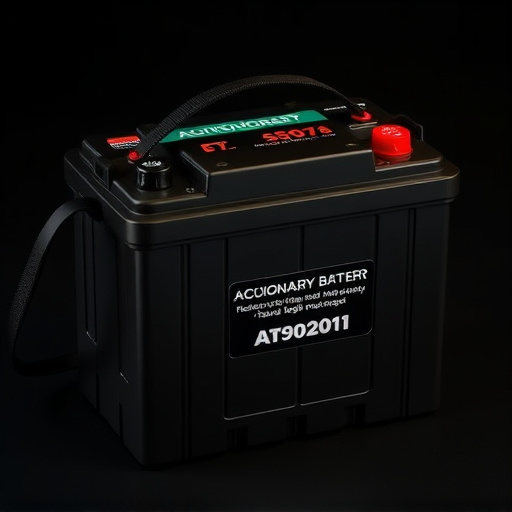
An auxiliary battery in an RV provides backup power for off-grid use. Choose a deep-cycle lead-acid battery with adequate capacity, voltage, and size based on RV needs. Install it securely near essential components, avoiding weather and theft risks. Conduct compatibility checks, accurately size the battery for peak demands, and integrate seamlessly. Safely install, maintain regularly, and monitor performance for optimal auxiliary battery life.
Looking to boost your RV’s power capabilities? Installing an auxiliary battery is a game-changer, offering increased energy for lighting, electronics, and more. This comprehensive guide covers everything from understanding the basics and choosing the right location to compatibility checks, sizing requirements, step-by-step installation, safety precautions, and maintenance tips. Discover the 7 best practices for seamlessly integrating an auxiliary battery into your RV, ensuring a smoother, more powered adventure.
- Understanding Auxiliary Battery Basics for RVs
- Location Matters: Choosing the Right Spot
- Compatibility Check: Vehicle and Battery Match
- Sizing Up: How Much Power Do You Need?
- Installation Steps: A Step-by-Step Guide
- Safety First: Precautions During Install
- Maintenance Tips for Longevity of Your RV's Auxiliary Battery
Understanding Auxiliary Battery Basics for RVs
An auxiliary battery in an RV is a crucial component that ensures you stay powered up during your travels, even when you’re disconnected from main electrical sources. It acts as a backup power supply, providing electricity for essential systems and appliances while camping off-grid. Understanding how these batteries work and their basics is essential before installing one in your recreational vehicle.
Auxiliary batteries are typically deep-cycle lead-acid batteries designed to withstand frequent charging and discharging cycles without degrading performance. They’re different from the main battery that starts your RV’s engine, as they focus on delivering sustained power for prolonged periods. When setting up an auxiliary battery system, consider factors like capacity (measured in amp hours), voltage, and size to match your RV’s electrical demands and available space.
Location Matters: Choosing the Right Spot
When installing an auxiliary battery in your RV, location is key. The ideal spot should be easily accessible, yet strategically placed to minimize vibration and protect against extreme temperatures. Under the bed is often a popular choice as it offers ample space and stability. Avoid mounting batteries near windows or doors, where they could be vulnerable to theft or weather damage.
Consider the electrical demand of your RV and choose a location that can handle the load. Close proximity to major electrical components like the inverter or charge controller ensures efficient power distribution. Remember, a well-placed auxiliary battery not only enhances your RV’s power backup capabilities but also contributes to overall system stability and longevity.
Compatibility Check: Vehicle and Battery Match
Before you start installing an auxiliary battery in your RV, conduct a thorough compatibility check. Not all vehicles and batteries are created equal, so ensuring they work harmoniously is paramount. Check your RV’s electrical system to understand its voltage requirements and the type of battery it currently uses. Common types include lead-acid and lithium, each with specific power outputs and charging needs. Ensure the auxiliary battery you choose matches these specifications for a seamless integration.
Additionally, consider the physical dimensions and weight of the battery compartment. You want to ensure the new auxiliary battery fits securely without compromising your RV’s stability or structural integrity. This step is crucial to prevent accidents and damage during your travels.
Sizing Up: How Much Power Do You Need?
When considering an auxiliary battery for your RV, sizing is crucial. The first step is understanding your power needs. Every RV is unique, with varying appliance requirements and usage patterns. Start by evaluating the wattage draw of your essential devices—refrigerator, water heater, air conditioner, and lighting. These appliances will consume the most energy.
Next, factor in your lifestyle while camping. Do you use a microwave or coffee maker frequently? Do you run multiple devices at once? Sizing up your power demands ensures that your auxiliary battery can handle peak usage without straining or underperforming. A well-sized battery means reliable access to power for all your RV’s needs.
Installation Steps: A Step-by-Step Guide
Installing an auxiliary battery in your RV is a straightforward process that can significantly enhance your off-grid capabilities and ensure reliable power for essential systems. Here’s a step-by-step guide to help you through the installation:
1. Prepare Your Workspace: Park your RV on a level surface, engage the parking brake, and shut down all electrical systems. Gather all necessary tools and materials, including your auxiliary battery, mounting brackets, cables, and connectors. Ensure proper ventilation in the battery compartment to avoid any buildup of harmful gases.
2. Identify Mounting Location: Locate an appropriate area for the auxiliary battery within the RV, typically under a bed or in a dedicated storage space. The spot should be secure, well-ventilated, and easily accessible. Install mounting brackets to hold the battery in place, ensuring they align with any provided holes on the battery itself.
3. Connect Positive Terminal: Begin by connecting the positive terminal of the auxiliary battery to its designated connection point in your RV’s electrical system. This is usually done through a dedicated switch or fuse box. Ensure all connections are tight and secure to prevent any arcing or short circuits.
4. Secure Negative Terminal: Next, attach the negative terminal of the auxiliary battery. Use a ground cable to connect it to a suitable metal surface within the RV that isn’t painted or coated, such as an unpainted metal frame member. This step is crucial for safe and efficient battery operation, ensuring any excess current has a safe path to follow.
5. Test Battery Connections: After completing the electrical connections, test each wire for proper functionality using a multimeter. Verify that there’s no voltage leak and that the system is grounded correctly.
6. Integrate with RV Systems: Configure your RV’s control panel or management system to recognize and manage the auxiliary battery. This may involve programming settings for charging protocols, battery monitoring, and accessing power during shore power outages or when the main battery is low.
7. Final Checks and Testing: With all connections secured, perform a full-system test. Run various appliances and lights while the RV is off-grid to ensure the auxiliary battery can support your energy needs. Adjust settings as necessary to optimize battery life and performance.
Safety First: Precautions During Install
Before tackling any RV auxiliary battery installation, prioritize safety. Always disconnect the RV’s main power source before beginning work. This crucial step prevents accidental shocks or short circuits that could cause damage to your vehicle and pose a significant safety risk. Wear protective gear, including insulated gloves and safety glasses, to minimize exposure to electrical components. Additionally, ensure proper ventilation in the RV’s battery compartment to prevent hazardous gas buildup during installation.
Maintenance Tips for Longevity of Your RV's Auxiliary Battery
Regular maintenance is key to prolonging the life of your RV’s auxiliary battery. First, always keep the battery terminals clean and corrosion-free. Use a wire brush or baking soda solution to remove any buildup, ensuring a good connection. Next, check the battery’s fluid levels regularly, especially in hot climates where evaporation can occur faster. Top up with distilled water as needed, but be careful not to overfill. Additionally, monitor the battery’s voltage and amp hours to ensure it’s within the recommended range. Regular testing will help you identify any potential issues early on, allowing for timely repairs or replacements. Remember, a well-maintained auxiliary battery can significantly enhance your RVing experiences for years to come.
Installing an auxiliary battery in your RV can significantly enhance your off-grid capabilities and ensure a smoother camping experience. By following these 7 best tips, from understanding basic concepts to proper maintenance, you’ll be well-equipped to make the most of your RV’s electrical system. Remember, the right auxillary battery, strategically placed, and installed with safety in mind, can open up a world of freedom and adventure.