
While many blame complex mechanisms for faulty key fobs, common issues stem from drained or incorrectly seated batteries. Check battery life and use proper voltage/type. For persistent problems, consult a professional mechanic who may recommend battery replacement. To replace the battery, locate the compartment, clean contacts, insert new battery carefully, and double-check connections. Refer to vehicle manual for specific instructions. After testing functions and range, ensure compatible transponder settings. Clean contact points regularly to prevent corrosion or signal issues with replacement key fob.
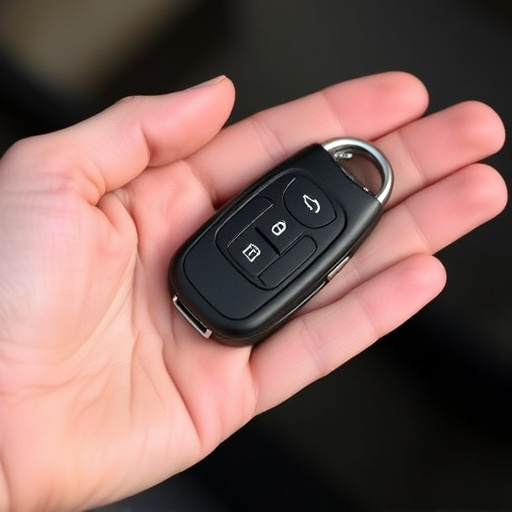
Having trouble with your new key fob after replacing the battery? Don’t panic! This guide will help you troubleshoot common issues. From ensuring the right battery type (a crucial step) to properly removing the old one and securely assembling the new fob, we cover it all. We’ll also walk you through testing each function, verifying transponder compatibility, and cleaning contact points for a seamless replacement experience.
- Check Battery Life and Type
- Properly Remove Old Battery
- Install New Battery Correctly
- Ensure Secure Fob Assembly
- Test Each Function After Replacement
- Verify Transponder Compatibility
- Clean Contact Points on Key Fob
Check Battery Life and Type
One common issue people face after replacing their key fob is its failure to function properly, often due to a simple yet crucial detail—the battery life and type. Before assuming any complex malfunction, checking the power source of your new fob should be your first step. Key fobs typically use small, long-life batteries that are designed to last for several years. However, these batteries can drain over time or may not have been properly seated during installation.
To ensure optimal performance, verify the battery life by checking the indicator light on the fob (if available) or trying different keys within a known working range. Ensure you use the correct type and voltage of battery recommended by the manufacturer, as using an incompatible battery can prevent the fob from operating altogether. If your key fob still doesn’t work after confirming these factors, it might be time to consult a professional mechanic for further diagnosis.
Properly Remove Old Battery
Before replacing a battery in your key fob, ensure that you properly remove the old one. Start by identifying the battery compartment, usually located on the inside of the fob or hidden beneath a small cover. Gently pry open the compartment using a thin tool like a paperclip to avoid damaging the device. Once accessed, carefully extract the old battery and note its size and type for future reference. It’s crucial to use the correct battery replacement, as specified in your fob’s manual or by the manufacturer, to ensure optimal performance.
After removing the old battery, clean the compartment and the metal contacts inside using a dry cloth or cotton swabs to eliminate any corrosion or residue. This simple step often enhances the fob’s functionality and can prevent future issues related to a weak connection. Only after ensuring everything is clean and dry should you insert the new battery, following the same careful process as when removing it.
Install New Battery Correctly
When replacing the battery in your key fob, ensuring proper installation is crucial for its functionality. The process is usually straightforward but requires precision to avoid any issues. First, identify the battery compartment inside the fob, which often has a small opening on one side. Remove the old battery carefully and dispose of it properly. Now, take the new battery, ensuring it matches the specifications provided by the manufacturer. Insert it into the compartment with the correct orientation; batteries typically have a defined positive and negative side.
Press the battery firmly into place, making sure it sits securely. Double-check that all connections are intact and make contact properly. A common mistake is to install the battery haphazardly, which can prevent the fob from working. Always refer to your vehicle’s manual for specific instructions regarding battery replacement if available, and consider this step as a critical part of keeping your key fob functioning optimally.
Ensure Secure Fob Assembly
After replacing a key fob, it’s crucial to ensure the new one is securely assembled. This involves double-checking that all components are properly fitted, including the battery. A common issue arises when the fob isn’t secured tightly enough, leading to connections that aren’t made correctly. When installing a new battery in a key fob, make sure the terminals are aligned perfectly and firmly attached. Even slight misalignments can disrupt power flow, rendering your newly replaced fob nonfunctional.
Additionally, be mindful of any instructions provided by the manufacturer. Different models may have unique assembly requirements. Following these guidelines guarantees a seamless connection between your fob and the vehicle’s system. If you’re unsure about the process, it might be helpful to consult a professional or refer to your car’s owner manual for specific details regarding battery replacement in the key fob.
Test Each Function After Replacement
After replacing the battery in your key fob, it’s crucial to test each function individually to ensure everything is working as expected. This involves checking if the lights come on when you press certain buttons, verifying that the beeps or vibrations (if applicable) are functional, and ensuring the fob responds when used with your vehicle’s lock system. A simple way to do this is by holding down each button for a few seconds while observing these responses.
If all functions appear to be operating normally, the next step is to test the key fob’s range. Move it closer to and further from your vehicle to see if there are any changes in performance. This can help pinpoint issues related to connectivity or signal strength, which might require additional troubleshooting such as cleaning contact points or replacing faulty components within the fob itself.
Verify Transponder Compatibility
Before assuming your new key fob is defective, ensure it’s compatible with your vehicle’s transponder system. Not all cars are equipped with the same technology, and a key fob replacement should match your vehicle’s specific requirements. Verify that the replacement battery in your key fob is fresh and properly installed. Check if your car requires a coded connection—some vehicles demand a unique code input upon pairing a new key fob. Ensure you’ve followed all manufacturer instructions during installation for optimal compatibility.
Additionally, consult your vehicle’s owner manual or seek assistance from a professional mechanic to confirm the transponder’s settings and compatibility. A misalignment in these factors could prevent your key fob from functioning correctly despite a seemingly valid replacement battery.
Clean Contact Points on Key Fob
Even after replacing the battery in your key fob, issues with functionality can arise if the contact points are contaminated or corroded. These tiny metal pads on the fob and the car’s ignition system are responsible for establishing a secure connection. Over time, they can accumulate dirt, grease, or even corrosion, hindering proper transmission of signals.
To resolve this, carefully clean the contact points using a soft cloth or a cotton swab dampened in isopropyl alcohol. Ensure you don’t use excessive force to avoid damaging the delicate components. Once cleaned, allow them to dry completely before attempting to use the key fob again. Properly maintained contact points can significantly improve the reliability of your replacement key fob.
After replacing the battery in your key fob, ensure all functions operate seamlessly. Check each button and feature to confirm proper assembly and compatibility with your vehicle. If issues persist, a deeper inspection of the contact points and transponder compatibility may be necessary. Regular maintenance, including battery replacement and cleaning, is key to keeping your key fob working reliably.