Battery degradation is a significant factor in iPhone performance decline, but DIY battery replacement offers economic benefits, extends device lifespan, and empowers users with control over their phone's health. It's a safe, convenient process if done correctly with the right tools and safety precautions, ensuring successful iPhone battery swaps for improved functionality and savings on costly upgrades.
Considering replacing your iPhone’s battery yourself? You’re not alone. With battery depreciation impacting performance, understanding the why is key. This article guides you through the process, highlighting the benefits of DIY battery replacement and essential safety precautions. Learn about the necessary tools and follow a step-by-step guide for a successful swap, empowering you to extend your iPhone’s lifespan. Discover why taking control of your device’s battery is both rewarding and cost-effective.
- Understanding Battery Depreciation and Its Impact
- Benefits of DIY iPhone Battery Replacement
- Essential Tools and Safety Precautions
- Step-by-Step Guide for a Successful Battery Swap
Understanding Battery Depreciation and Its Impact

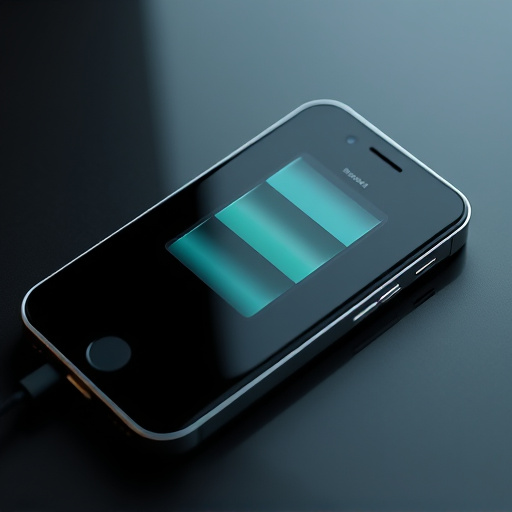
Every iPhone owner knows that over time, their device’s performance can degrade, and a significant factor in this is battery depreciation. As your iPhone ages, its battery capacity naturally reduces, leading to shorter battery life and potentially affecting the overall functionality of your device. This degradation process accelerates when you consistently use energy-intensive apps or regularly expose your phone to high temperatures.
When you consider that replacing an iPhone battery can be relatively affordable compared to purchasing a new device, it makes economic sense to take on this task yourself. By opting for a DIY approach, you not only save money but also gain a better understanding of your phone’s inner workings. Moreover, knowing how to replace your iPhone battery allows you to extend the life of your beloved device and potentially avoid being locked into an expensive upgrade cycle.
Benefits of DIY iPhone Battery Replacement

Replacing your iPhone battery yourself comes with a host of benefits that extend beyond saving money. Firstly, it empowers you to take control of your device’s longevity and performance. By understanding the process and replacing the battery at the first sign of degradation, you can avoid unexpected failures and keep your phone running smoothly for longer. This DIY approach also offers convenience; you can complete the repair at home, eliminating the need to visit a service center.
Additionally, do-it-yourself (DIY) battery replacement allows you to access genuine Apple batteries or high-quality alternatives, ensuring your phone remains safe and secure. You avoid the potential risks associated with third-party repairs, such as faulty parts or improper installation. This method also fosters a sense of accomplishment and technical proficiency, empowering you to tackle future iPhone repairs with confidence.
Essential Tools and Safety Precautions

When it comes to replacing your iPhone battery yourself, having the right tools is crucial for a successful and safe process. You’ll need basic equipment such as a screwdriver set (often Phillips-head), pliers, and a new replacement battery specifically designed for your iPhone model. These tools allow you to carefully disassemble and reassemble the device without causing damage.
Safety should always be at the forefront of your mind. Working with electronic devices requires caution. Always unplug your iPhone from any power source before beginning. Wear protective gloves if you have them, as this can prevent accidental cuts or scratches while handling small components. Keep a close eye on how you position tools to avoid damaging internal parts. Remember, replacing a battery is not just about technical skill; it’s also about prioritizing safety throughout the DIY process.
Step-by-Step Guide for a Successful Battery Swap

Replace your iPhone battery yourself with this straightforward, step-by-step guide for a successful swap. First, gather all necessary tools: a new iPhone battery, a Phillips #000 screwdriver, and plastic opening tools. Power down your device completely before beginning. Next, remove the SIM card tray using the tools provided or a paperclip. Then, carefully pry open the bottom of your phone using the plastic spudgers, being mindful not to damage the connectors. Once the back panel is off, locate and disconnect the battery connector from the logic board. At this point, you can safely remove the old battery and replace it with the new one. Reattach the battery connector and snap the back panel into place. Insert your SIM card tray, ensuring proper alignment. Lastly, power on your iPhone to test the successful replacement of your device’s battery.
Replacing your iPhone’s battery yourself is a cost-effective and empowering solution. By understanding battery degradation and its impact, you can grasp why DIY replacement is not only beneficial but also a sustainable practice. With the right tools and safety measures in place, you can successfully swap out the battery, extending your device’s life and ensuring optimal performance. So, why wait? Take control of your iPhone’s longevity by learning this simple yet impactful skill – it could be the best DIY project for your tech arsenal.