Regularly inspect and maintain your key fob's components, especially the battery, to ensure secure vehicle access. To replace the battery, gather tools, open the fob, install a new battery, and test its functionality. Extend the lifespan of your key fob by avoiding extreme temperatures, keeping it clean, and promptly replacing drained batteries as per the owner’s manual.
Unsure how to safely open your key fob to replace its dying battery? This guide provides essential insights. We’ll walk you through understanding your key fob’s components, preparing for the replacement process, and offer a step-by-step manual for a smooth experience. Learn tips for maintaining your fob to prolong its lifespan and avoid costly replacements. By following these simple steps, you’ll master the art of replacing your key fob’s battery in no time.
- Understanding Your Key Fob's Components
- Preparing for the Battery Replacement Process
- Step-by-Step Guide to Replacing the Battery in Your Fob
- Tips for Maintaining and Prolonging Your Key Fob's Lifespan
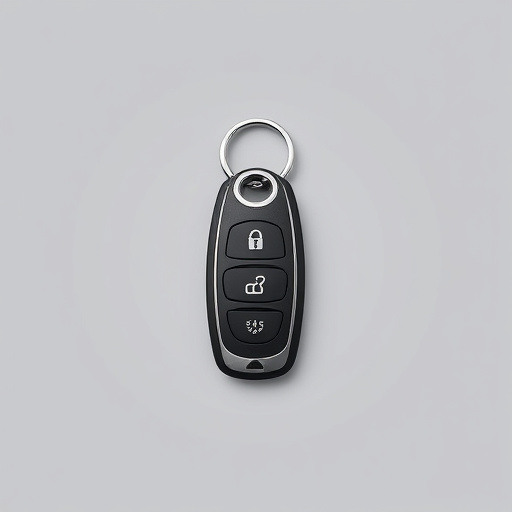
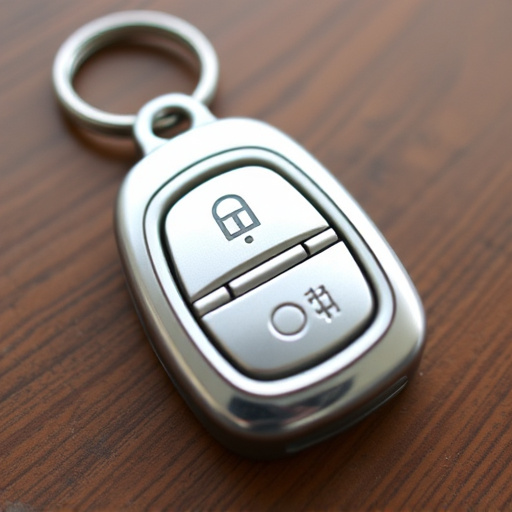
Understanding Your Key Fob's Components
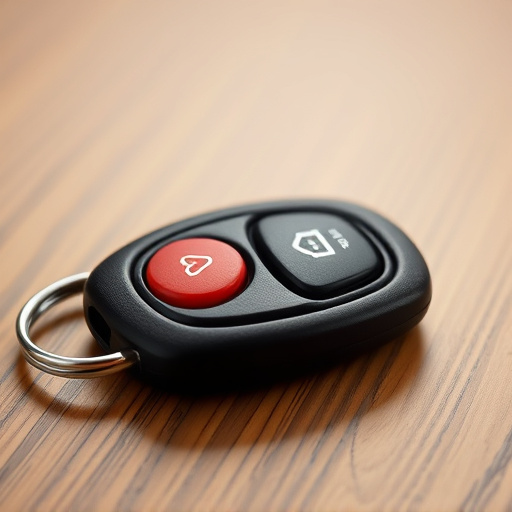
Understanding your key fob’s components is crucial for safe and effective operation, including knowing when to replace the battery in key fob. Key fobs are typically composed of several parts: a plastic casing that houses the circuit board, buttons or switches that trigger various functions, and a small battery that powers the entire device. The circuit board contains sensitive electronics that enable communication with your vehicle’s immobilizer system. When you press a button, it sends a signal to the car, confirming your identity and allowing access or engine ignition.
Regularly checking these components is essential maintenance. If you notice any wear and tear, especially on the buttons or the casing, take action. A damaged fob might fail to communicate with your vehicle properly, leading to inconvenience or security risks. Moreover, keeping track of battery health is paramount. Most key fobs require periodic replacement of the built-in battery, usually every 1-2 years, depending on usage. Regularly replacing the battery in key fob ensures reliable performance and prevents unexpected failures when you need your car most.
Preparing for the Battery Replacement Process
Before you begin the process of replacing the battery in your key fob, there are a few preparations to make. First and foremost, gather all the necessary tools and materials. This typically includes a new battery that matches the specifications of your old one, a small screwdriver (often Phillips-head), and possibly some thin tweezers or a spudger for delicate models. Ensure these tools are readily available to streamline the process.
Additionally, locate the battery compartment within your key fob. This might require opening the fob itself, which can be done carefully by gently prying it apart using the appropriate tool. Once you access the compartment, inspect it for any signs of damage or corrosion. Cleaning the area and ensuring everything is in good condition before inserting a new battery will help prevent any issues during the replacement process.
Step-by-Step Guide to Replacing the Battery in Your Fob

Many modern key fobs require a simple replacement of the battery to continue functioning. Here’s a step-by-step guide on how to do it, ensuring your fob opens smoothly and securely.
1. Identify Battery Type: First, locate the batteries within your key fob. They’re usually small, flat, and round. The most common types are CR2032 or CR2025. Check your user manual for confirmation if needed.
2. Prepare Your Workspace: Gather a few essential tools: a tiny screwdriver (often Phillips-head), new replacement batteries of the correct type, and perhaps some rubber gloves to protect your skin from any residual static or chemicals.
3. Open the Fob: Gently pry open your key fob using the screwdriver. The back cover may pop off or slide away, revealing the battery compartment. Be careful not to damage the delicate components inside.
4. Remove Old Battery: Take out the old battery with care. Note its orientation; some fobs have a specific way the battery should be installed. Remove any protective tape from the new battery and insert it in the exact same position as the old one.
5. Close and Test: Close the back cover of your key fob, ensuring all components are aligned correctly. Try opening your fob to confirm that the new battery powers it on successfully.
Tips for Maintaining and Prolonging Your Key Fob's Lifespan
Regular maintenance is key to prolonging your key fob’s lifespan. One of the simplest yet most effective ways to do this is by regularly checking and replacing the battery, as a drained battery can cause the fob to stop functioning. Most modern key fobs use small, replaceable batteries that are easy to access; check your owner’s manual for specific instructions on how and where to find these.
Additionally, be mindful of environmental factors. Extreme temperatures can impact the performance of electronic devices, including key fobs. Avoid leaving your fob in very hot or cold conditions for extended periods, as this could accelerate battery drain or even damage internal components. Regular cleaning with a soft, dry cloth also helps to keep it free from dirt and debris that might interfere with its operation.
By understanding your key fob’s components, preparing for battery replacement, and following a simple step-by-step guide, you can safely and effectively replace the battery in your fob. Additionally, implementing maintenance tips will help prolong its lifespan, ensuring reliable access to your vehicle or property. Remember, a well-maintained key fob means fewer unexpected breakdowns and more seamless operations. Now that you’re equipped with these insights, take control and keep your fob functioning optimally through regular care.