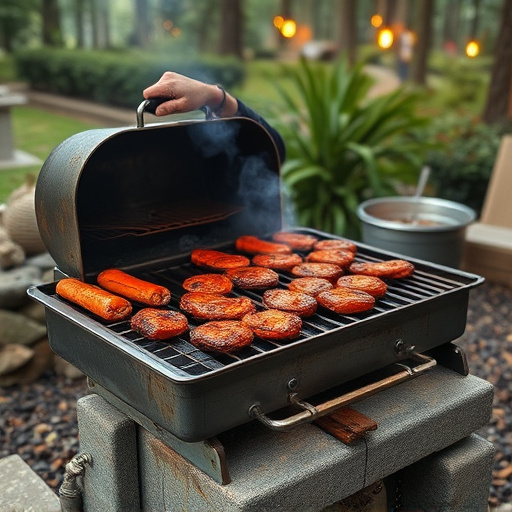
Crafting perfect BBQ ribs in the oven starts with selecting the right cut (St. Louis-style or baby back), using fresh, high-quality racks balanced in meat, fat, and bone. Strategic preparation includes removing membranes, marinating with vinegar, garlic, spices, and brown sugar for deep flavor infusion. Slow baking at 225°F – 250°F (107°C – 121°C) for 3-4 hours ensures tender ribs. Choose between dry or wet rubs based on preference. Regular basting with BBQ sauce or paste prevents drying. Resting ribs post-baking redistributes juices and enhances tenderness. Serve with simple, complementary sides like cornbread, coleslaw, and baked beans, offering sauces for extra flavor.
Unleash the ultimate BBQ experience with slow-baked ribs—a method that guarantees mouthwatering, tender meat infused with rich flavors. This comprehensive guide takes you on a journey from choosing the perfect ribs to mastering the art of slow baking. Learn about preparation techniques, the science behind marinades, and the battle between dry and wet rubs. Discover the secrets to baste like a pro and the art of resting your ribs for maximum tenderness. Get ready to impress with this ultimate BBQ ribs oven recipe!
- Choosing the Right Ribs for Your BBQ Oven Recipe
- Preparation and Marinade: A Key to Flavor Infusion
- The Art of Slow Baking: Temperatures and Timings
- Dry Rub vs Wet Rub: Which Is Better for Your Ribs?
- Baste, Baste, Baste: Enhancing Flavor During Cooking
- Resting the Ribs: Why It's Crucial for Tender Meat
- Serving Suggestions and Side Dishes
Choosing the Right Ribs for Your BBQ Oven Recipe
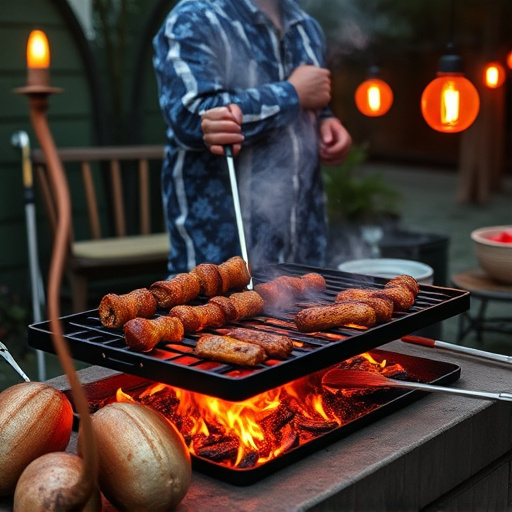
When it comes to crafting the perfect slow-baked BBQ ribs in your oven, selecting the right cut is key. Opt for rib racks with a good balance of meaty bone and fat; this ensures even cooking and maximum flavor infusion during the slow-baking process. Look for St. Louis-style or baby back ribs, as these cuts are popular choices for oven-roasted BBQ due to their tenderness and versatility.
Consider the quality of your ribs; choose ones that are meaty, with a thin layer of fat, ensuring they stay moist during the slow-baking process. Fresh, high-quality ribs will result in a better flavor profile compared to older cuts. Properly storing and preparing your ribs before baking is essential, allowing the flavors from your BBQ sauce or rub to penetrate deeply, creating mouthwatering, tender ribs.
Preparation and Marinade: A Key to Flavor Infusion
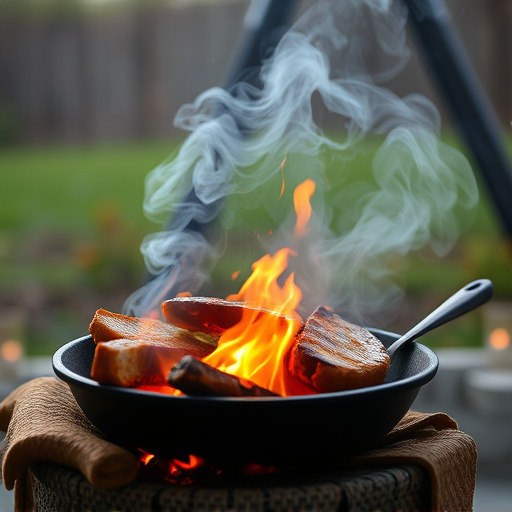
Preparation and marinade are essential steps in creating mouthwatering, slow-baked BBQ ribs. The key to flavor infusion lies in allowing the ribs to soak up the marinade’s rich, savory juices. Before baking, prepare your ribs by removing any excess fat and membrane, ensuring they’re tender and ready for the sauce. A good marinade combines ingredients like vinegar, garlic, spices, and brown sugar to create a complex taste profile that penetrates the meat.
Rubbing the ribs with this flavorful mixture helps lock in moisture and enhances their natural juices. For optimal results, marinate your ribs overnight or even longer in the fridge for maximum flavor infusion. This process ensures that each rib is imbued with the tenderizing and seasoning benefits of the marinade, transforming them into a slow-baked BBQ ribs oven recipe that’s sure to delight.
The Art of Slow Baking: Temperatures and Timings
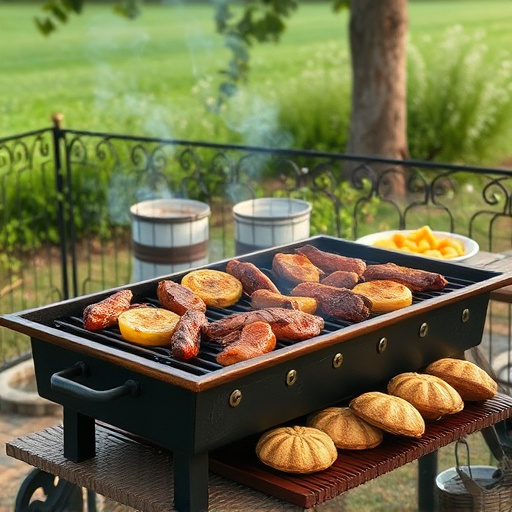
The art of slow baking is a delicate balance of time and temperature, allowing flavors to meld and penetrate every layer of your BBQ ribs. For the best results with an oven recipe, aim for low and slow. Typically, setting your oven between 225°F (107°C) and 250°F (121°C) provides the ideal environment for slow-roasting ribs. This temperature range ensures a steady, consistent heat that gently cooks the ribs over several hours, locking in moisture and amplifying their natural flavors.
Timing is everything. BBQ ribs oven recipes usually require 3 to 4 hours of baking time, but this can vary depending on the thickness of your ribs and your oven’s efficiency. Regularly checking the ribs’ temperature with a meat thermometer ensures they’re cooked to perfection—when the internal temperature reaches 195°F (90°C), they’re ready. This meticulous approach allows for a deep flavor infusion, resulting in tender, succulent BBQ ribs that truly live up to their name.
Dry Rub vs Wet Rub: Which Is Better for Your Ribs?
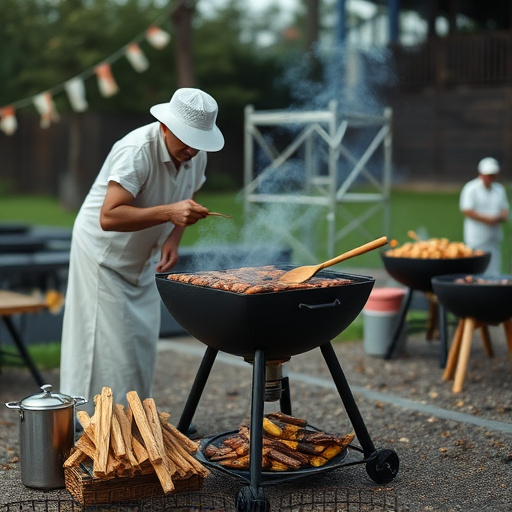
When it comes to seasoning your BBQ ribs, there’s a classic debate: dry rub vs wet rub. Both methods have their advocates and offer distinct flavors, but each has its own unique advantages for achieving those mouthwatering, slow-baked BBQ rib results.
A dry rub is simply a mixture of spices that you coat directly onto the meat. This method allows the spices to penetrate the surface of the ribs, creating a complex, savory flavor as they bake slowly in the oven. Dry rubs are versatile and can be adjusted based on personal taste preferences, offering a true custom seasoning experience. On the other hand, wet rubs involve mixing spices with ingredients like apple juice, vinegar, or brown sugar to create a paste that is brushed onto the ribs. Wet rubs add moisture to the cooking process, which can help prevent the ribs from drying out and ensure tender, juicy results. They also tend to create a sweeter, more distinctive flavor profile due to the added sugars.
Baste, Baste, Baste: Enhancing Flavor During Cooking
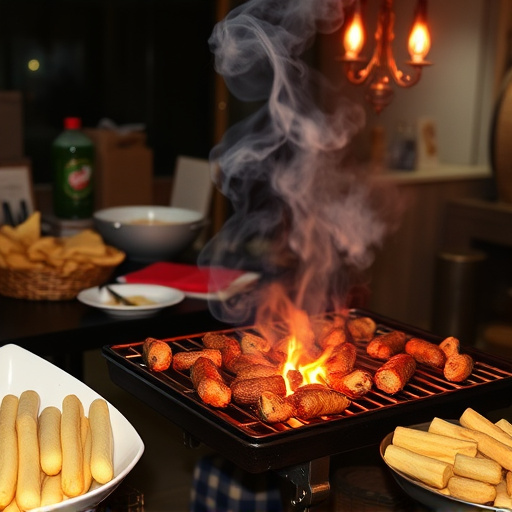
Basting is a key technique in the quest for perfectly slow-baked BBQ ribs, allowing you to enhance and intensify the flavor during cooking. It involves regularly applying a sauce or moisture to the ribs while they bake, ensuring every bite is infused with rich, smoky goodness. This simple step can make all the difference between ordinary and extraordinary ribs.
When basting your BBQ ribs oven recipe, consider using a combination of your favorite BBQ sauce and ingredients like apple cider vinegar, brown sugar, or even a bit of honey for added depth of flavor. The key is to baste at regular intervals—typically every 30 minutes to an hour—to ensure the ribs stay moist and the sauce adheres, creating a stunningly flavorful end product.
Resting the Ribs: Why It's Crucial for Tender Meat
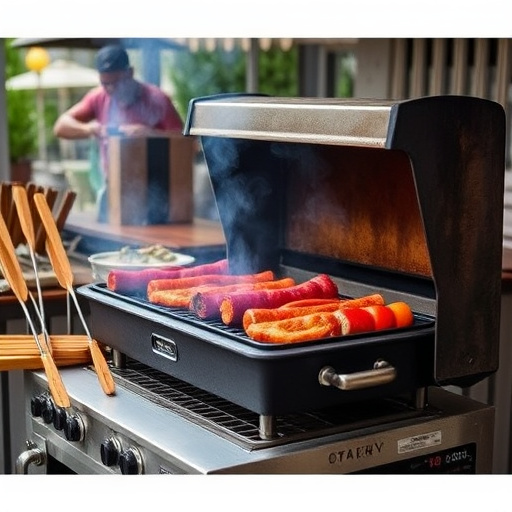
Resting the ribs after slow baking is a crucial step that often gets overlooked, but it’s essential for achieving tender, juicy meat. When you remove your BBQ ribs from the oven, they continue to cook and undergo a process called ‘resting’. During this time, the juices redistribute throughout the meat, ensuring every bite is packed with rich flavor. This simple act of resting allows the collagen in the meat to transform into gelatin, making the ribs incredibly tender and succulent.
While many recipes suggest serving BBQ ribs immediately after cooking, taking a few minutes to rest them first can make a significant difference in texture and overall enjoyment. It’s recommended to let your ribs rest for at least 10-15 minutes before slicing, allowing time for the juices to settle. This small adjustment will result in meat that glistens with natural juices, ensuring each slice is mouthwatering and fall-off-the-bone tender – the ultimate goal for any BBQ rib lover.
Serving Suggestions and Side Dishes
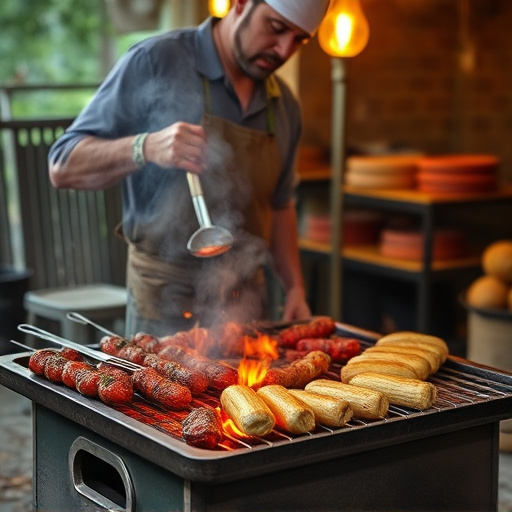
When it comes to serving your slow-baked BBQ ribs, let the flavors do the talking. Pair them with classic side dishes that complement the rich, smoky taste. Cornbread is a Southern favorite and goes hand in hand with ribs; its sticky texture and sweet tang enhance the overall dining experience. Another popular choice is coleslaw—a refreshing mix of cabbage, carrots, and a tangy dressing that cuts through the richness of the ribs. For a complete meal, consider adding baked beans; their sweet and savory profile makes them an ideal pairing.
Don’t forget about the sauces! While the ribs themselves are infused with flavor from the slow-baking process, a good BBQ sauce can take them to the next level. Offer guests a variety of options like tomato-based sauces, honey-mustard glazes, or even a simple dry rub for those who prefer a more straightforward taste.
