
Incorporate BBQ pig feet into your outdoor menu for a unique culinary experience. Marinate and grill the feet for a savory, spicy blend of flavors. Follow simple steps to prepare roasted pig feet in the oven or on the grill. Enhance taste with sauces and side dishes like coleslaw and baked beans. Elevate presentation with creative platters and personalized dipping sauces. Store and reheat leftovers safely to prevent foodborne illnesses.
“Elevate your outdoor gatherings with a sizzling BBQ Pig Feet Recipe, perfect for entertaining guests at barbecues and parties. This comprehensive guide takes you on a culinary journey, from selecting the freshest ingredients to mastering the art of roasting these savory treats. Learn preparation tips for hassle-free cooking and discover delicious sauces, sides, and presentation ideas to make your meal unforgettable. Ensure safe storage and reheating of leftovers, leaving your guests satisfied and eager for more.”
- Choosing the Right Ingredients for a Tasty BBQ
- Preparation Tips for Easy Outdoor Cooking
- Step-by-Step Guide to Roasting Pig Feet
- Accompanying Sauces and Side Dishes for a Complete Meal
- Presentation Ideas for Impressing Your Guests
- Storing and Reheating Leftovers Safely
Choosing the Right Ingredients for a Tasty BBQ
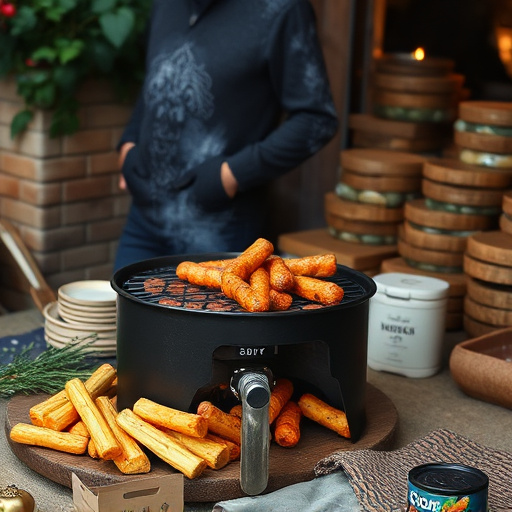
When it comes to crafting a mouthwatering BBQ, selecting the perfect ingredients is key. For an unforgettable outdoor gathering, consider adding BBQ pig feet to your menu. This unique and flavorful delicacy is sure to be a hit among partygoers. A good BBQ pig feet recipe involves marinating the feet in a blend of spices, herbs, and sauces for several hours or even overnight, allowing the flavors to penetrate deeply.
The key to success lies in balancing savory, spicy, and sweet elements. Incorporate classic BBQ sauces with hints of brown sugar and mustard for a sticky, caramelized glaze. Add a kick with chili powder or cayenne pepper, and don’t forget aromatic herbs like garlic, rosemary, and thyme. These ingredients not only enhance the taste but also contribute to the tender, juicy texture that makes BBQ pig feet so delectable when grilled to perfection over direct heat.
Preparation Tips for Easy Outdoor Cooking
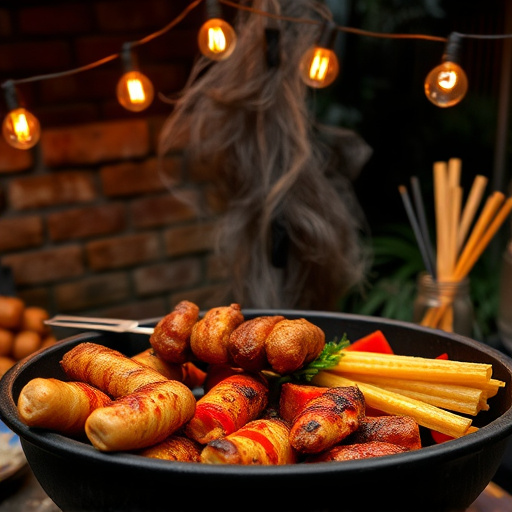
Preparing a mouthwatering BBQ Pig Feet Recipe for your outdoor gathering is simpler than you think! Start by selecting fresh, high-quality pig feet from a trusted butcher. Clean and trim them, removing any excess fat or membrane to ensure a crispier texture. Soak the feet in a mixture of spices like paprika, garlic powder, salt, and pepper for at least an hour before cooking; this step adds depth of flavor.
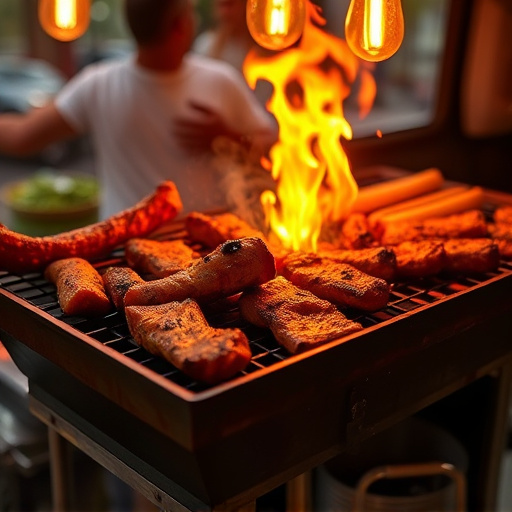
For easy outdoor cooking, prepare your grill beforehand. Preheat it to medium-high heat and oil the grates to prevent sticking. Grill the pig feet for about 30 minutes on each side until they’re well-browning and crispy. Brush them with BBQ sauce during the last few minutes of cooking for an extra delicious glaze. Let them rest before serving to allow the juices to redistribute, ensuring a tender and juicy treat for your guests.
Step-by-Step Guide to Roasting Pig Feet

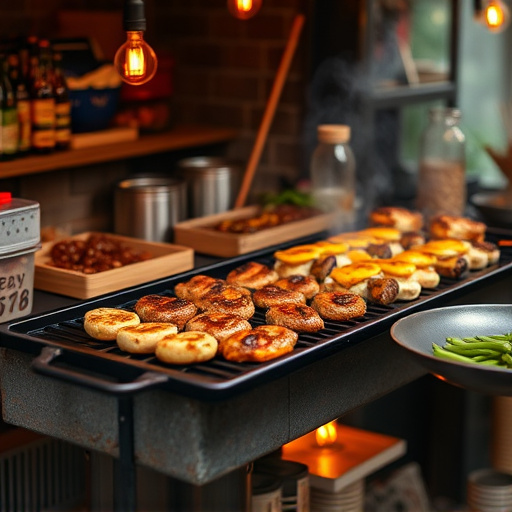
To achieve perfectly roasted pig feet for your outdoor barbecues and parties, follow this step-by-step guide using our BBQ Pig Feet Recipe. First, prepare your ingredients: 4 pig feet, 1/2 cup of olive oil, salt, pepper, garlic powder, paprika, and any other spices you prefer. Next, preheat your oven to 375°F (190°C) and line a baking sheet with foil for easy cleanup.
Next, thoroughly clean and dry the pig feet. Rub them generously with olive oil, ensuring each foot is coated evenly. Sprinkle salt, pepper, garlic powder, and paprika all over. Place the prepared feet on the lined baking sheet, cut side up, and bake for 30 minutes. After this initial period, reduce the oven temperature to 350°F (175°C) and continue roasting for an additional 45-60 minutes or until the skin is crispy and the meat tender.
Accompanying Sauces and Side Dishes for a Complete Meal
Complete your BBQ Pig Feet Recipe with a variety of sauces and side dishes for a truly satisfying outdoor dining experience. Sauces like barbecue, honey mustard, or a spicy kick can elevate the flavors of the pig feet, offering a delightful contrast between sweet, tangy, and hot notes.
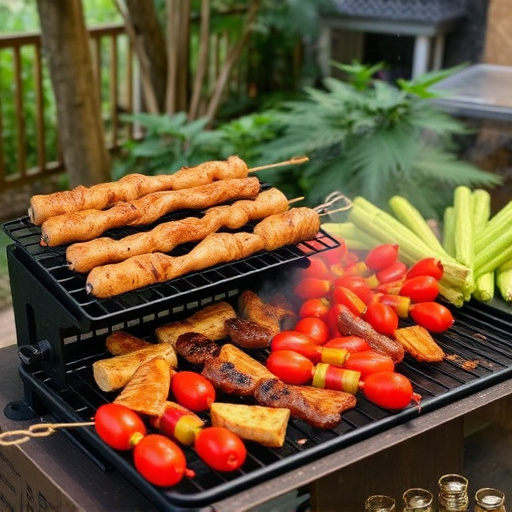
Accompanying sides such as coleslaw, corn on the cob, and baked beans provide a well-rounded meal. These dishes not only complement the rich and tender pig feet but also add texture and variety to your barbecue or party spread, ensuring every guest finds something to enjoy.
Presentation Ideas for Impressing Your Guests
Create an impressive spread that will have your guests raving by thinking outside the box with your BBQ pig feet recipe presentation. Instead of serving them as is, get creative and use them as a centerpiece for a unique dining experience. Arrange the pig feet on a large platter adorned with fresh herbs and colorful vegetables to make a visually appealing display. Accompany it with a variety of dipping sauces in individual bowls or small cups, allowing guests to customize their flavors.
For an even more memorable touch, consider serving your BBQ pig feet alongside complementary side dishes that complement the savory taste. Offer a selection of crispy fried onions, garlic bread, or baked beans for a hearty and satisfying meal. Present these sides on rustic platters or in baskets, adding to the overall outdoor party ambiance.
Storing and Reheating Leftovers Safely
After a successful outdoor barbecue or party, many hosts find themselves with delicious leftovers. Storing and reheating these treats safely is crucial to prevent foodborne illnesses. When it comes to BBQ Pig Feet Recipe, proper handling is key. Place any leftover meat in airtight containers, ensuring they are cooled down quickly before refrigerating. Store them in the fridge for up to 3-4 days, or freeze for longer periods if needed.
Reheating leftover BBQ pig feet should be done gently to maintain flavor and texture. Use a microwave-safe container and heat in short bursts, stirring frequently to prevent burning. Alternatively, reheat in a preheated oven at low temperature until heated through. Always check the internal temperature with a food thermometer for safety.