Before attempting to replace a key fob's battery, identify its battery type and life expectancy. Gather tools like a screwdriver, tweezers, and a compatible CR2032 battery. Disassemble the key fob by removing covers and opening the battery compartment carefully. Replace the old battery with a new one, ensuring proper seating, and test functionality. Reassemble the key fob, reconnect components, and confirm full operation through a button press.
Looking to extend your car key fob’s life? DIY fob battery replacement is a simple, cost-effective solution. This guide breaks down the process into five straightforward steps:
1. Understand Your Fob’s Battery Life & Types
2. Gather Essential Tools & Materials
3. Disassemble the Key Fob
4. Locate and Replace the Battery
5. Reassemble and Test
Follow these steps to effortlessly replace your key fob battery, ensuring a secure and hassle-free drive.
- Understanding Your Key Fob's Battery Life and Types
- Gathering the Necessary Tools and Materials
- Disassembling the Key Fob: A Step-by-Step Guide
- Locating and Replacing the Battery Properly
- Reassembling and Testing Your Restored Key Fob
Understanding Your Key Fob's Battery Life and Types
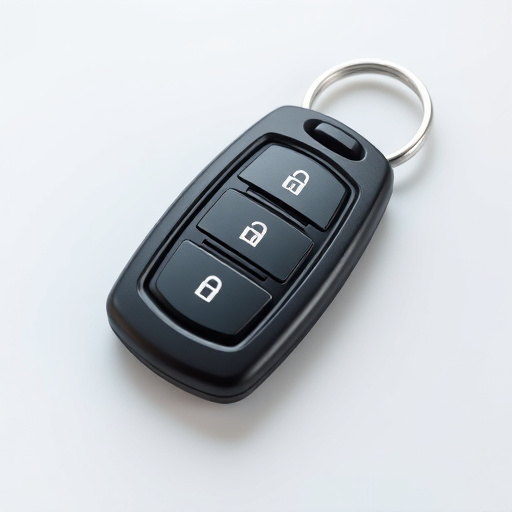
Before diving into the process of replacing your key fob’s battery, it’s crucial to understand the battery life and types specific to your model. Key fobs typically come with either replaceable batteries or those that require professional replacement. Most modern key fobs use small, flat, coin-sized batteries, commonly known as lithium or CR2032 batteries. These batteries are designed for long-lasting performance, often lasting several years before needing a replacement.
Checking the battery compartment of your key fob can provide insights into its power source. If it’s a removable battery, you can easily replace it by purchasing a new battery of the correct size and type. For non-removable batteries, you might need to consult your vehicle’s manual or seek professional assistance for safe removal and replacement. Understanding these nuances ensures a smooth DIY process when it comes to replacing the battery in your key fob.
Gathering the Necessary Tools and Materials
Before starting the DIY process for replacing a key fob battery, it’s crucial to gather all the required tools and materials. This includes a new replacement battery that matches the specifications of your key fob, typically a small, flat, coin-sized battery (CR2032 or similar). You’ll also need a thin, flat screwdriver designed for precision work, often a Phillips or flathead type, depending on your fob’s design. A pair of tweezers can be useful for handling tiny components with ease and ensuring no damage during the replacement process. Some key fobs may require a small pair of pliers for carefully removing old battery holders or clips. Additionally, having a small tray or container to organize and store these tiny parts while working is beneficial to avoid misplacing any components. With these essential tools and materials ready, you’re well-prepared to tackle the task of replacing your key fob battery efficiently.
Disassembling the Key Fob: A Step-by-Step Guide
Disassembling your key fob to replace the battery is a straightforward process, but it requires precision and care. Start by removing any visible cover or casing on the fob. This might involve unscrewing small screws or snapping off plastic pieces. Once exposed, identify the battery compartment, usually a small pocket containing the battery and, in some cases, a small circuit board.
Using a flathead screwdriver or a tool designed for such tasks, gently pry open the battery compartment. Be cautious not to damage any internal components. Remove the old battery carefully and set it aside. Clean the compartment if needed to ensure there’s no residue left from the old battery. This meticulous disassembly is a crucial step in ensuring your new battery fits properly and that your key fob functions seamlessly after its DIY replacement.
Locating and Replacing the Battery Properly
Locating the battery in your key fob is the first step in the replacement process. Most key fobs have a small, flat battery that is easily accessible. Look for a small compartment or door on the fob that can be opened to reveal the battery. This might require using a thin tool, like a paperclip, to gently pry it open. Once you’ve located the battery, the replacement process is straightforward. Remove the old battery and install a new one of the same size, making sure it’s properly seated. Double-check that the fob functions correctly after inserting the new battery. A successful replace battery in key fob operation ensures your fob continues to work reliably without any issues.
Reassembling and Testing Your Restored Key Fob
After successfully restoring your key fob, it’s time to put it back together and test its functionality. Reassembling involves fitting the new battery, ensuring all components are correctly aligned, and reconnecting any necessary wires or switches. Once reassembled, a simple press of the button should activate the fob, demonstrating that the replacement battery is now fully functional. This testing step is crucial in confirming that your DIY efforts have resulted in a working key fob, ready to be used once again, offering convenience and security without the need for an expensive professional service.
Replacing your key fob’s battery is a straightforward process that can extend the life of your remote. By understanding your fob’s battery type, gathering the right tools, and following a systematic disassembly, reassembly, and testing approach, you can successfully perform this DIY task. With these five simple steps, you’ll be back on the road, enjoying the convenience of a fully functional key fob without breaking the bank or waiting for professional assistance.